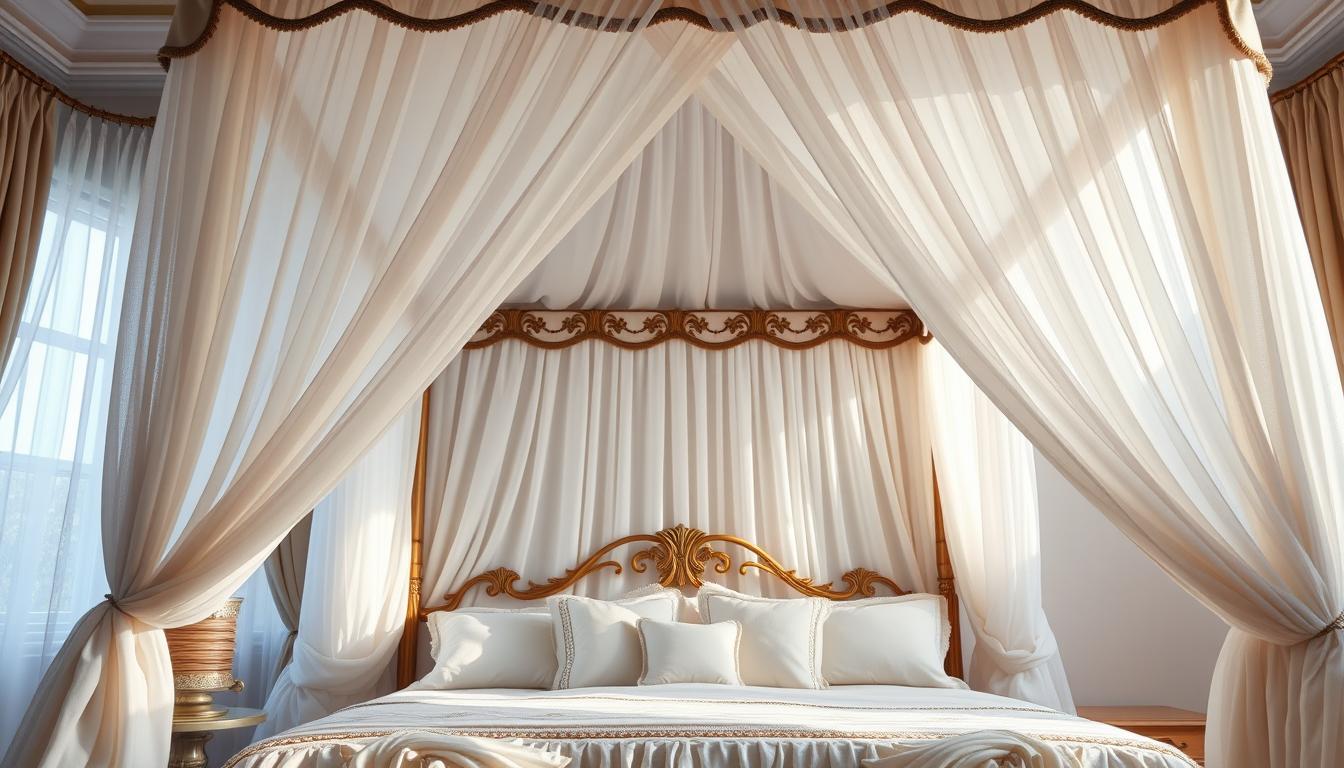
DIY Canopy Bed Frames
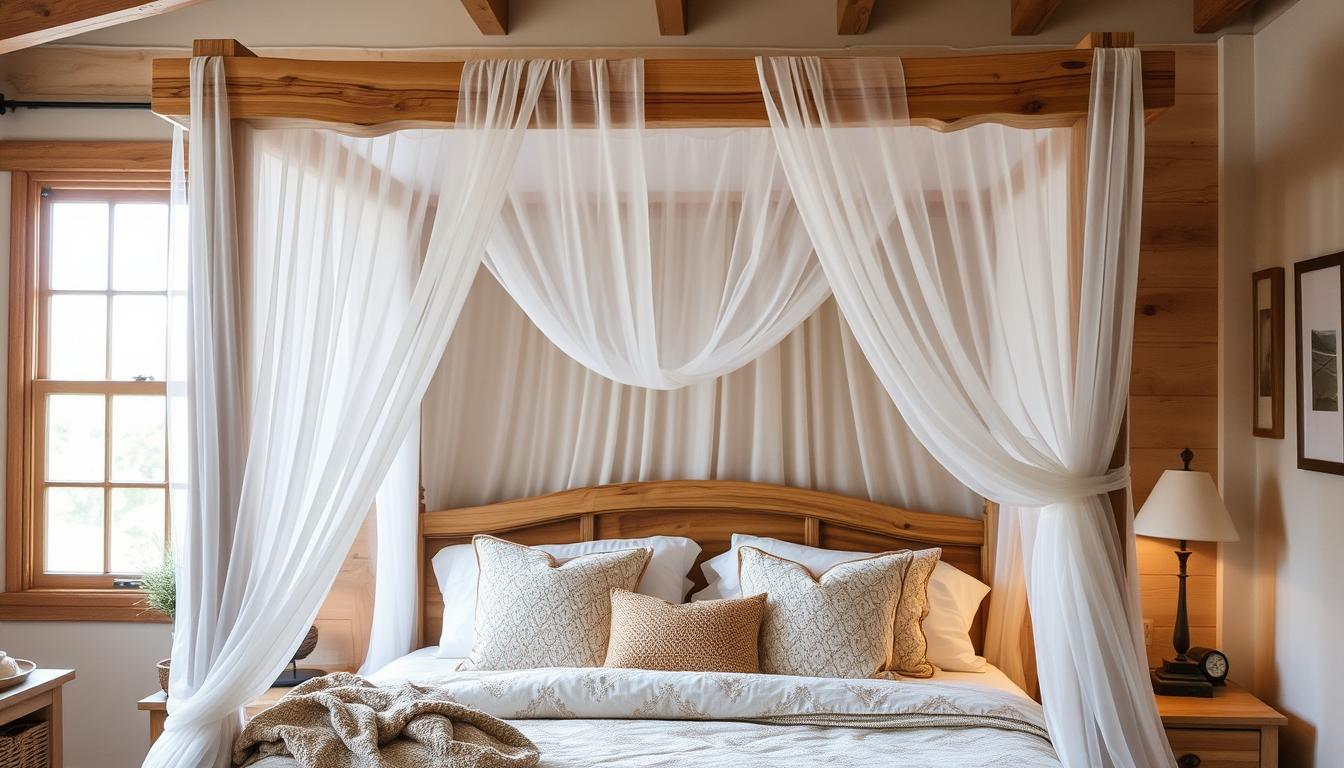
Canopy beds make bedrooms cozy and luxurious. They were first used for privacy and warmth in medieval castles. Now, they add beauty to modern homes. You can choose from full canopies or partial ones. This lets you pick a style that fits your taste, from fancy to simple. You can make your bedroom a special … Read more