Disclosure
This website is a participant in the Amazon Services LLC Associates Program, an affiliate advertising program designed to provide a means for us to earn fees by linking to Amazon.com and affiliated sites.
Introduction
If you’re wondering how to patch a blanket, the answer is simple: use a matching fabric patch and secure it with hand stitching, machine sewing, or fusible bonding for a seamless repair.
But here’s the truth—patching a blanket isn’t just about fixing a tear or hole. It’s about preserving comfort, extending the life of something sentimental, and reducing waste. Whether it’s a cozy fleece you’ve had for years, your child’s favorite quilt, or a handmade heirloom, a proper patch keeps those warm memories intact.
Did you know that more than 11 million tons of textiles end up in landfills every year? Repairing, instead of discarding, is not just economical—it’s sustainable. And you don’t need to be an expert sewer to get it right.
In this guide, you’ll learn:
- How to assess the damage and choose the right patch.
- Step-by-step repair methods for different blanket materials.
- Tools and tips that make the process smooth—even for beginners.
Best Products for Patching a Blanket
Finding the right tools and materials is key to a successful patch job. Whether you’re patching a soft fleece, a heavy quilt, or a knitted throw, these products can help ensure the repair is durable, neat, and cozy.
1. Singer Sew-It-Goes Sewing Kit
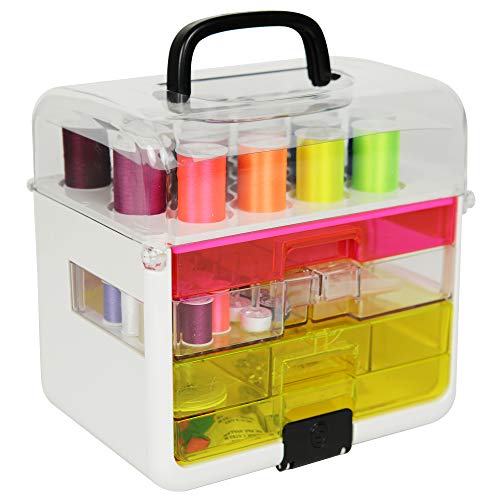
- LIGHTWEIGHT AND PORTABLE: Portable sewing storage system with easy grip handle…
- QUALITY AND DURABLE: Holds 40+ spools of thread and other essential sewing…
- EASY TO USE: Customizable sewing storage with three convenient removable drawers…
- Why We Picked It:
This all-in-one kit includes needles, scissors, thread, and everything you need for basic blanket repairs. It’s beginner-friendly and travel-ready for on-the-spot fixes.
2. HeatnBond UltraHold Iron-On Adhesive
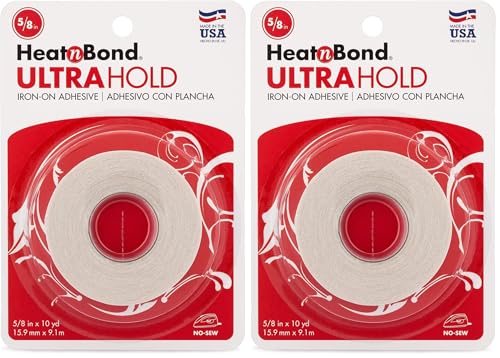
- The information below is per-pack only
- Ultrahold’s no-sew bond is stronger than traditional fusible webs
- Heat activated; Permanent; Double-sided adhesive
- Why We Picked It:
Ideal for no-sew blanket repairs. This strong adhesive bonds fabric securely with an iron, making it perfect for fast, hassle-free patching without a sewing machine.
3. Dritz Iron-On Denim Patches
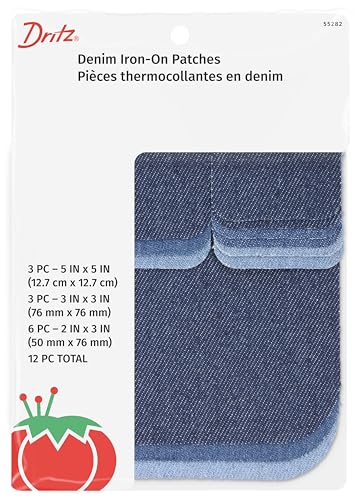
- Use to repair garments, accessories, or other fabric items
- Use with templates or stencils to cut patterns and shapes for kids’ clothing…
- Easy iron-on application requires no sewing
- Why We Picked It:
These durable pre-cut patches are great for larger or more worn-out areas. They’re thick, long-lasting, and easy to use—just iron on and go.
Assessing the Damage: What Kind of Patch Does Your Blanket Need?
Before grabbing a needle or iron, it’s important to evaluate the extent and type of damage. Different blankets and tears require different patching approaches.
Start by Inspecting the Blanket
- Type of Fabric: Is it fleece, cotton, wool, quilted, or knit? The material will determine the best patching technique.
- Size of the Damage: Small holes may need only minor hand-stitching, while larger tears might require reinforced patches.
- Location of Damage: A tear along the edge may need hem reinforcement, whereas a hole in the center might benefit from a decorative patch.
Categorize the Damage
Use the following guide to decide how to patch:
- Tiny Holes (<1 inch)
Best for hand-stitching or fusible webbing. - Medium Tears (1–3 inches)
Iron-on or sewn-in patches are ideal. - Large Damage (>3 inches)
Requires sturdy fabric patches sewn securely, possibly with reinforcement stitching.
Consider These Key Factors
- Aesthetic vs. Functionality: Do you want the patch to blend in or stand out?
- Blanket Usage: Is it for daily use, decor, or sentimental storage? Frequent use requires more durable solutions.
- Fabric Compatibility: Always choose a patch material that matches or complements the original fabric to avoid stiffness or wear.
Choosing the Right Patch Material for Your Blanket
Picking the right patch material isn’t just about color—it’s about compatibility, comfort, and durability. The wrong fabric can cause stiffness, fall off in the wash, or make your blanket uncomfortable. Here’s how to get it right.
Match or Complement the Fabric
- Fleece Blanket
- Use anti-pill fleece patches to maintain the softness.
- Avoid stiff materials like denim or canvas.
- Cotton or Flannel Blanket
- Choose a lightweight woven cotton or flannel patch.
- Pre-wash the fabric to prevent future shrinkage.
- Wool Blanket
- Use wool felt patches—easy to sew and naturally strong.
- Avoid synthetic patches, which may not bond well.
- Quilted Blanket
- Use 100% cotton quilting fabric.
- Match the color scheme or add a creative touch with a patterned patch.
Choose Between Sew-In or Iron-On Patches
Sew-In Patches:
- Best for durability and long-term use.
- Great for sentimental or high-use blankets.
- Allows more control over the shape and placement.
Iron-On Patches:
- Fast and easy—ideal for no-sew repairs.
- Best for low-friction areas (not the edges).
- May come loose after multiple washes if not properly fused.
Cut and Prepare the Patch
- Cut the patch at least ½ inch larger than the hole on all sides.
- Round the corners to prevent fraying or peeling.
- If using iron-on patches, follow the package instructions exactly for heat and pressure.
How to Patch a Blanket Step-by-Step (Sewing and No-Sew Methods)
Once you’ve assessed the damage and chosen your patch, it’s time to apply it. Below are both sewing and no-sew methods so you can choose what works best for your skills and tools.
Method 1: Sewing the Patch (Hand or Machine)
What You’ll Need:
- Fabric patch
- Needle and thread (or sewing machine)
- Pins or fabric clips
- Scissors
- Optional: fabric glue or fusible web for added security
Steps:
Position the Patch
- Place the patch over the hole with a ½-inch overlap on all sides.
- Use pins or clips to hold it in place.
Secure with Stitches
- Use a basic running stitch, zig-zag, or blanket stitch.
- For machine sewing, use a zig-zag or straight stitch around the edges.
Reinforce the Area
- Backstitch at the corners or stress points.
- Optionally, stitch an “X” or box shape within the patch for durability.
Trim Excess Threads
- Clean up the area to prevent snagging and give it a neat look.
Method 2: No-Sew (Using Iron-On Adhesive)
What You’ll Need:
- Iron-on patch or fabric + HeatnBond UltraHold
- Iron and ironing board
- Damp cloth or pressing cloth
Steps:
Cut and Prepare the Patch
- Cut to size with rounded edges.
- Follow instructions for bonding material if using HeatnBond.
Position and Press
- Place the patch with adhesive side down over the damaged area.
- Cover with pressing cloth and press firmly with iron (medium-high heat, no steam).
Let It Set
- Allow to cool fully before using or washing the blanket.
Making Your Patch Last: Care and Maintenance Tips
Patching your blanket is just the beginning. If you want your repair to hold up through countless movie nights, naps, or winter mornings, how you care for it afterward matters just as much as how well you applied the patch.
Follow Proper Washing Guidelines
- Always Read Labels: If your blanket has a care tag, follow it. Otherwise:
- Fleece/Cotton: Machine wash cold, gentle cycle, low tumble dry.
- Wool: Hand wash or dry clean only.
- Quilted/Crafted Blankets: Use a delicate cycle and avoid hot water.
- Turn Inside Out (if possible): This reduces friction on the patch during the wash.
- Avoid Harsh Detergents: Go for mild, dye-free detergents to protect stitching and adhesive bonds.
Reinforce Over Time
Even well-stitched patches can loosen with frequent use. To make them last:
- Inspect Monthly: Look for loose threads or lifted edges.
- Restitch or Re-iron if needed—don’t wait for the patch to fully detach.
- Add Fray Check: This liquid seam sealant can help prevent edge fraying on fabric patches.
Minimize Wear and Tear
- Designate Use: Keep patched blankets as throws or lap blankets rather than high-stress bed coverings.
- Store Properly: When not in use, fold and store blankets in a dry, breathable bag to prevent moisture buildup.
- Keep Away from Pets: Claws and teeth can undo your hard work fast.
Creative Patch Ideas: Turn Repairs into Personal Style
A patch doesn’t just fix a hole—it can also add personality, tell a story, or enhance your blanket’s look. If you’re repairing a well-loved item, especially one with sentimental value, why not make it beautiful too?
Use Decorative Fabric
- Bold Patterns: Choose polka dots, florals, or stripes to turn a patch into an eye-catching feature.
- Themed Prints: For kids’ blankets, use cartoon or animal print fabric.
- Seasonal Styles: Try plaid for winter throws or pastel florals for spring.
Play With Shapes
Instead of plain squares, cut patches into:
- Hearts
- Stars
- Leaves
- Hexagons (quilt-style)
These fun shapes can help disguise the damage while adding charm and personality.
Embellish With Hand Stitching
- Sashiko Embroidery: A Japanese technique that combines patching with beautiful, visible stitching.
- Decorative Borders: Add a blanket stitch or whipstitch around the patch in a contrasting color.
- Initials or Symbols: Stitch a name or meaningful icon into the patch for a personalized touch.
Layer for Texture
- Double Patch: Layer a thin fabric patch under a decorative top patch for dimension.
- Appliqué Style: Stitch the patch on top without cutting away damaged fabric—great for aesthetic-only additions.
Add Meaning
- Use fabric from an old shirt, baby onesie, or pillow to create a memory patch that carries emotional value as well as function.
Conclusion
Patching a blanket isn’t just about fixing a hole—it’s about preserving comfort, reducing waste, and adding new life to something meaningful. Whether you’re dealing with a tiny tear or a big rip, you now know exactly how to:
- Assess the damage to determine the right repair strategy.
- Choose the right patch material that matches your blanket’s texture and use.
- Apply a patch through sewing or no-sew methods for long-lasting results.
- Care for your repair to extend the blanket’s life even further.
- Get creative and turn simple fixes into personalized design touches.
Frequently Asked Questions About How to Patch a Blanket
Can I patch a blanket without sewing?
Yes! You can use iron-on patches or fusible webbing like HeatnBond UltraHold. These no-sew methods work best on:
- Flat, smooth fabrics like fleece or cotton
- Low-stress areas (center of the blanket, not edges)
- Temporary or quick repairs
What kind of fabric should I use for a patch?
Always match the patch material as closely as possible to the original blanket. Here’s a quick guide:
- Fleece blankets: Use anti-pill fleece or a similar soft knit.
- Cotton or flannel: Go with lightweight woven cotton.
- Wool blankets: Wool felt works well and is easy to stitch.
- Quilts: Use 100% cotton quilting fabric.
How do I make a patch look good or invisible?
- Use thread that matches the blanket color.
- Cut rounded corners on the patch to help it blend in.
- Sew with a tight, even stitch or use an invisible stitch technique like ladder stitch.
- If desired, sew the patch inside the blanket (reverse applique) for minimal visibility.
Will a patch stay on after washing the blanket?
Yes, if applied properly:
- Sewed patches are the most durable and can easily withstand regular washing.
- Iron-on patches can last through many washes if:
- Pressed firmly with high heat
- Given time to set before first wash
- Washed in cold water on a gentle cycle
Can I patch a knitted or crocheted blanket?
Yes, but the method is different. For knitted or crocheted items:
- Use yarn darning or duplicate stitch to reweave the area.
- Apply a felt patch inside the blanket for stability if needed.
- Avoid iron-on patches—they don’t bond well to yarn textures.